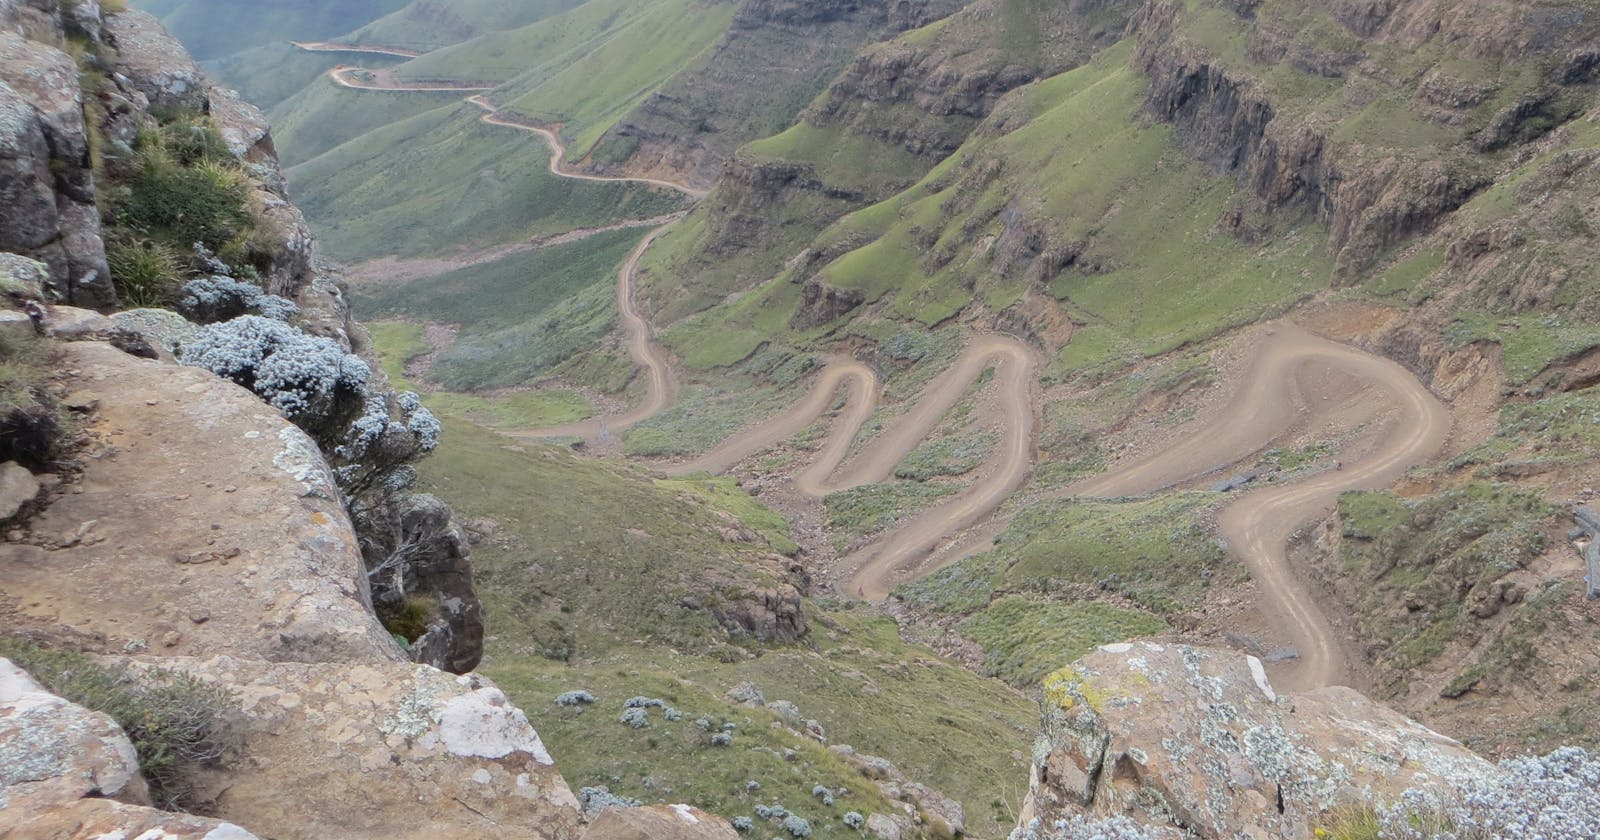
So you have a project in which the end result you have envisioned an amazing map that shows concretely the solution to your problem. You know where you want to end up but the problem is how to get there. Worry no more. I got you.
For sure I cannot answer to the exact problem but the great thing with GIS, as most scientific processes, is that it follows specific steps, and following these steps it will be easier to get to your destination. I always find myself no matter the project following these predefined steps. These steps are what I call the GIS method. They include:
- Frame the question
- Explore and prepare data
- Choose analysis methods and tools
- Perform the analysis
- Examine and refine results
More details on this can also be found in this ESRI Blog on GIS Analysis Steps.
Frame the question

This involves having the question put clearly to understand what the problem is and the expected results. Understanding the problem will help you find the solution. Figuring this out will bring you more than halfway to the solution because all the consecutive steps will depend on this.
Explore and prepare data
This will involve finding the data required for your analysis. Do you already have it? If not where can you obtain it? Then also, you need to explore the properties of your datasets. Are the datasets in the right format or scale you want? Are they compatible? Do you need to do some data preparation or pre-processing before the next step?
Choose analysis methods and tools
With the data and a clear goal of what your end result is, you can now explore the various methods that can help you reach your results. In this step you will be finding out the best tools and algorithms to help you convert your data to information. This is the fun part because it will require some bit of research.
Examine and refine results
Next, you will apply the chosen analysis methods on your data then with the results obtained you will compare to see if they fulfill the expectations you had in the beginning.
Now that we have done most theory here, let's get our hands dirty and do some cool GIS stuff.
There are quite many GIS software and tools available but for now we would start with QGIS. This is because QGIS is an open-source software so you would not require a commercial licence to use it and also, its graphical user interface is quite simple and easy to use.
So this is what wikipedia says about QGIS:
QGIS is a free and open-source cross-platform desktop geographic information system (GIS) application that supports viewing, editing, and analysis of geospatial data.
It functions as geographic information system (GIS) software, allowing users to analyze and edit spatial information, in addition to composing and exporting graphical maps.
So in QGIS you can apply all the GIS steps till you obtain your desired end result!
So in the next posts we will install QGIS then solve a problem using GIS.
For more clarification feel free to share on the comments section.
The images are obtained from:
